
DIY Shiplap Walls


Hey Friends! Justin wrote this post for you guys so that you could install shiplap in your own home- just like we did in ours! This is a great reference point, and as always, please reach out to me with any questions you have! Happy to help!
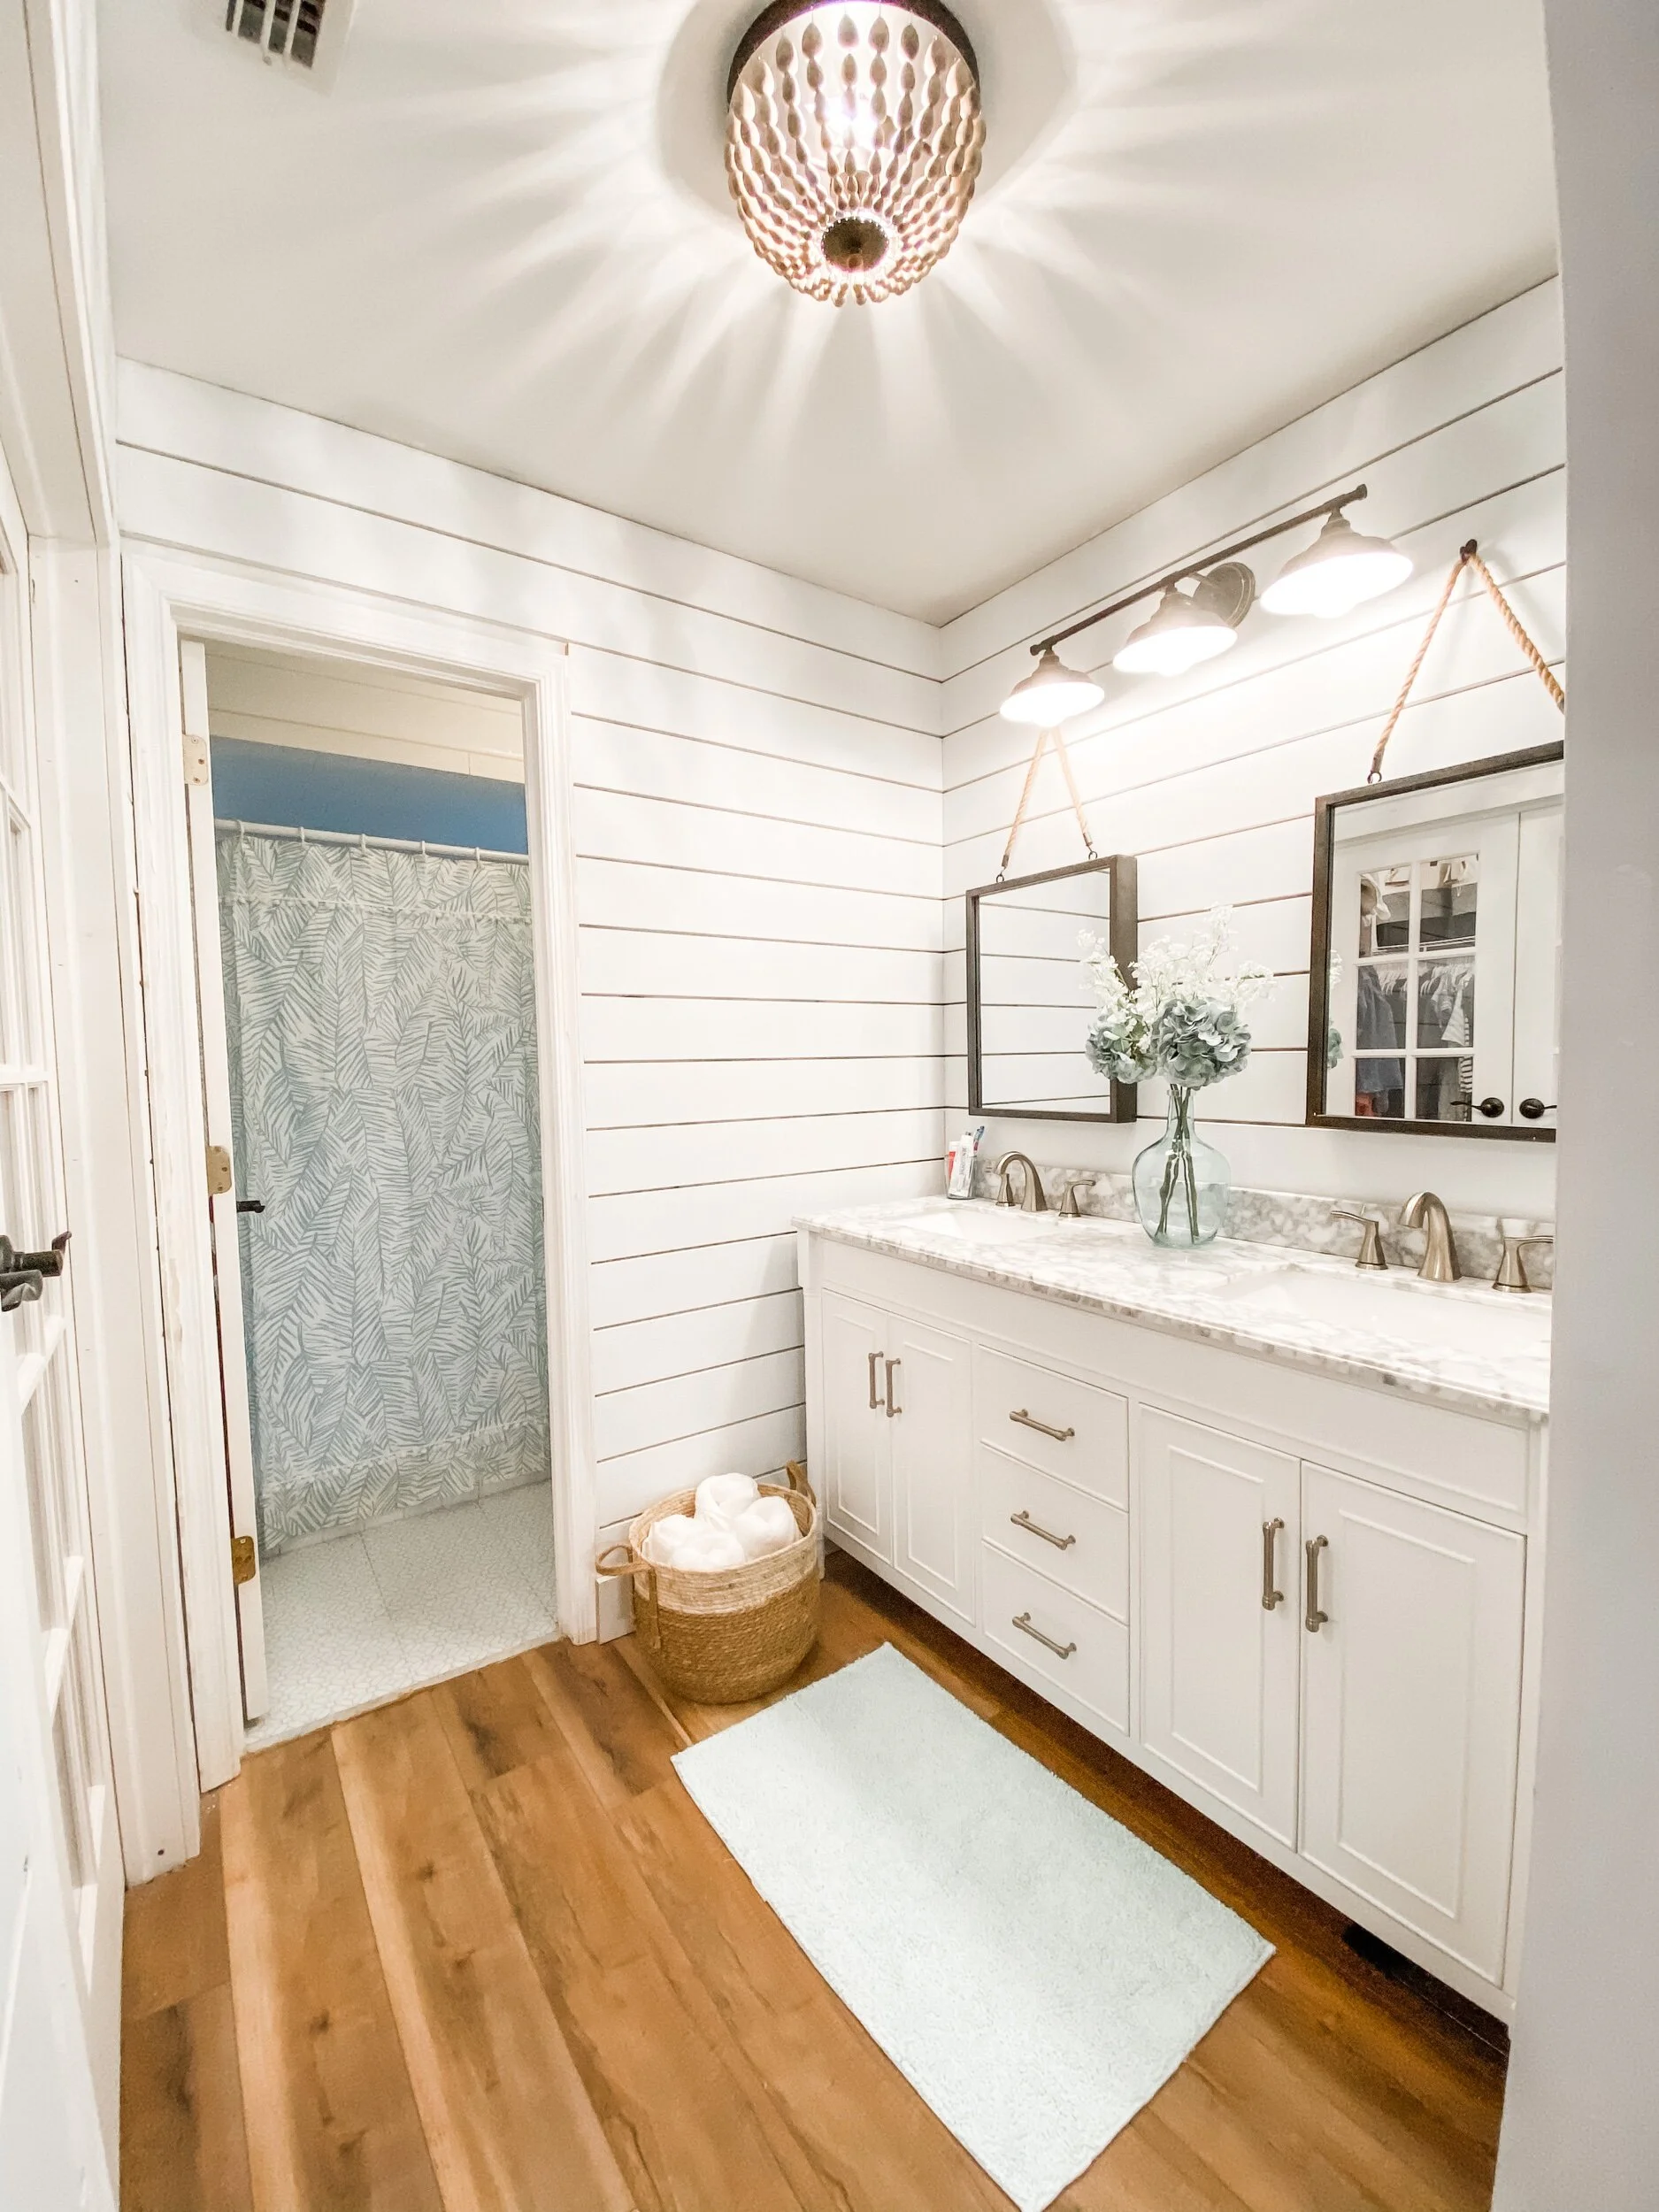
Shiplap is a low-cost, easy, and very effective way to add more dimension, texture, and timelessness to a room. There are numerous types of shiplap, as well as ways of installing. For most of our projects, we have used pre-primed MDF boards (1x6”) or pre-primed tongue and groove pine shiplap.
When choosing your shiplap, there are a few things to consider. We have found that the easiest and most durable is the tongue and groove pine shiplap. There is no need to worry about spacing it out, and it installs easily with a brand nailer, and or liquid nails. The cost per a board foot for this type of shiplap is usually under 1$/bf.
Prep:
As always, make sure you have done your homework and measured the wall to know how much shiplap you will need. If you are covering one wall for an accent wall, you also should choose what type of border you want to frame in the shiplap. This will help your edges stay clean and give it a finished look. The tongue and grove shiplap is 1/2 thick. We chose to use a pre-primed 1x2” MDF board as casing as it had a clean finished edge look.
Next, I suggest pre-,marking your studs. The studs run vertically along your wall every 16-24 inches. Using a stud-finder, I mark each stud along the wall about 12” from the bottom, and 12” from the top of each stud. If you have a chalk line, you can connect these two lines vertically to mark each stud along the wall. This will help the process go much faster and avoid wasting time and nails on the installation.
Make sure you have all of your tools ready. If you decide to use both liquid nails and a brad nailer, you may want to set up a work top table to apply the liquid nails to the shiplap before mounting and nailing them in.
TIP: I always like to lay the shiplap bottom to top and left to right. I cut the pieces so that the tongue or male end is pointed towards the ceiling and the groove or female end is pointed towards the floor.
Install:
I always like to start from the left, and work my way to the right. I start by installing my first piece of MDF that I am using as an edge, vertically along the wall on the left side of the wall. I measure out to the edge of the wall, and subtract two inches from the measurement to allow for my finish edge of MDF. If you are using liquid nails to secure the shiplap, you would need to apply to the backside of the shiplap on the workbench you set up before installing onto the wall.
Starting from the bottom, I start my cut edge from the left, check for levelness with a level along the top of the shiplap, and make sure my two inch measurement is laid out where I want it. Once I check all of my sides, I will nail it to the studs using the chalk lines I laid out previously. Every 16” I will nail the piece to the wall. The process for the second piece is simply following the same measuring and cutting technique and fitting the second piece into the first by slightly angling the second piece into the tongue of the first piece. Again, pushing the piece to flush against the left-side MDF border. This process is repetitive from floor to ceiling.
Depending on how you are planning to run your top piece, or crown molding, the last piece may need to be ripped length-wise. Make sure you account for the 1/4 inch tongue. I suggest cutting off the top of the shiplap piece where it would meet the ceiling or your crown molding.
Finish:
Once all of your shiplap is up, you can add you final MDF border to the right side of the wall. If your cuts were all lined up, They should fit fairly flush against the MDF. If you have a 1/4” or less gap, you can cover the gap during the caulking and paint prep. If you have more than a 1/4” gap, you can either cut a small piece of shiplap to make up the difference, or using a chalk line, mark your edge and cut a straight line from bottom to top.
After installing the right side MDF, you are ready for caulking and paint. I always use a simple acrylic caulk in trim white. I caulk only the edges. I DO NOT caulk in-between each of the pieces of ship lap. The pieces fit together with a slightly angled cut. This is what gives the shiplap its texture.
After you have caulked all of the edges in, you will want to light sand over where you added caulk, and then you are ready to paint! We used just a true trim white with a satin finish on the shiplap in the living room, and then for the shiplap on the kitchen backsplash and kitchen island we painted it Cloudy Gray by Magnolia Home.