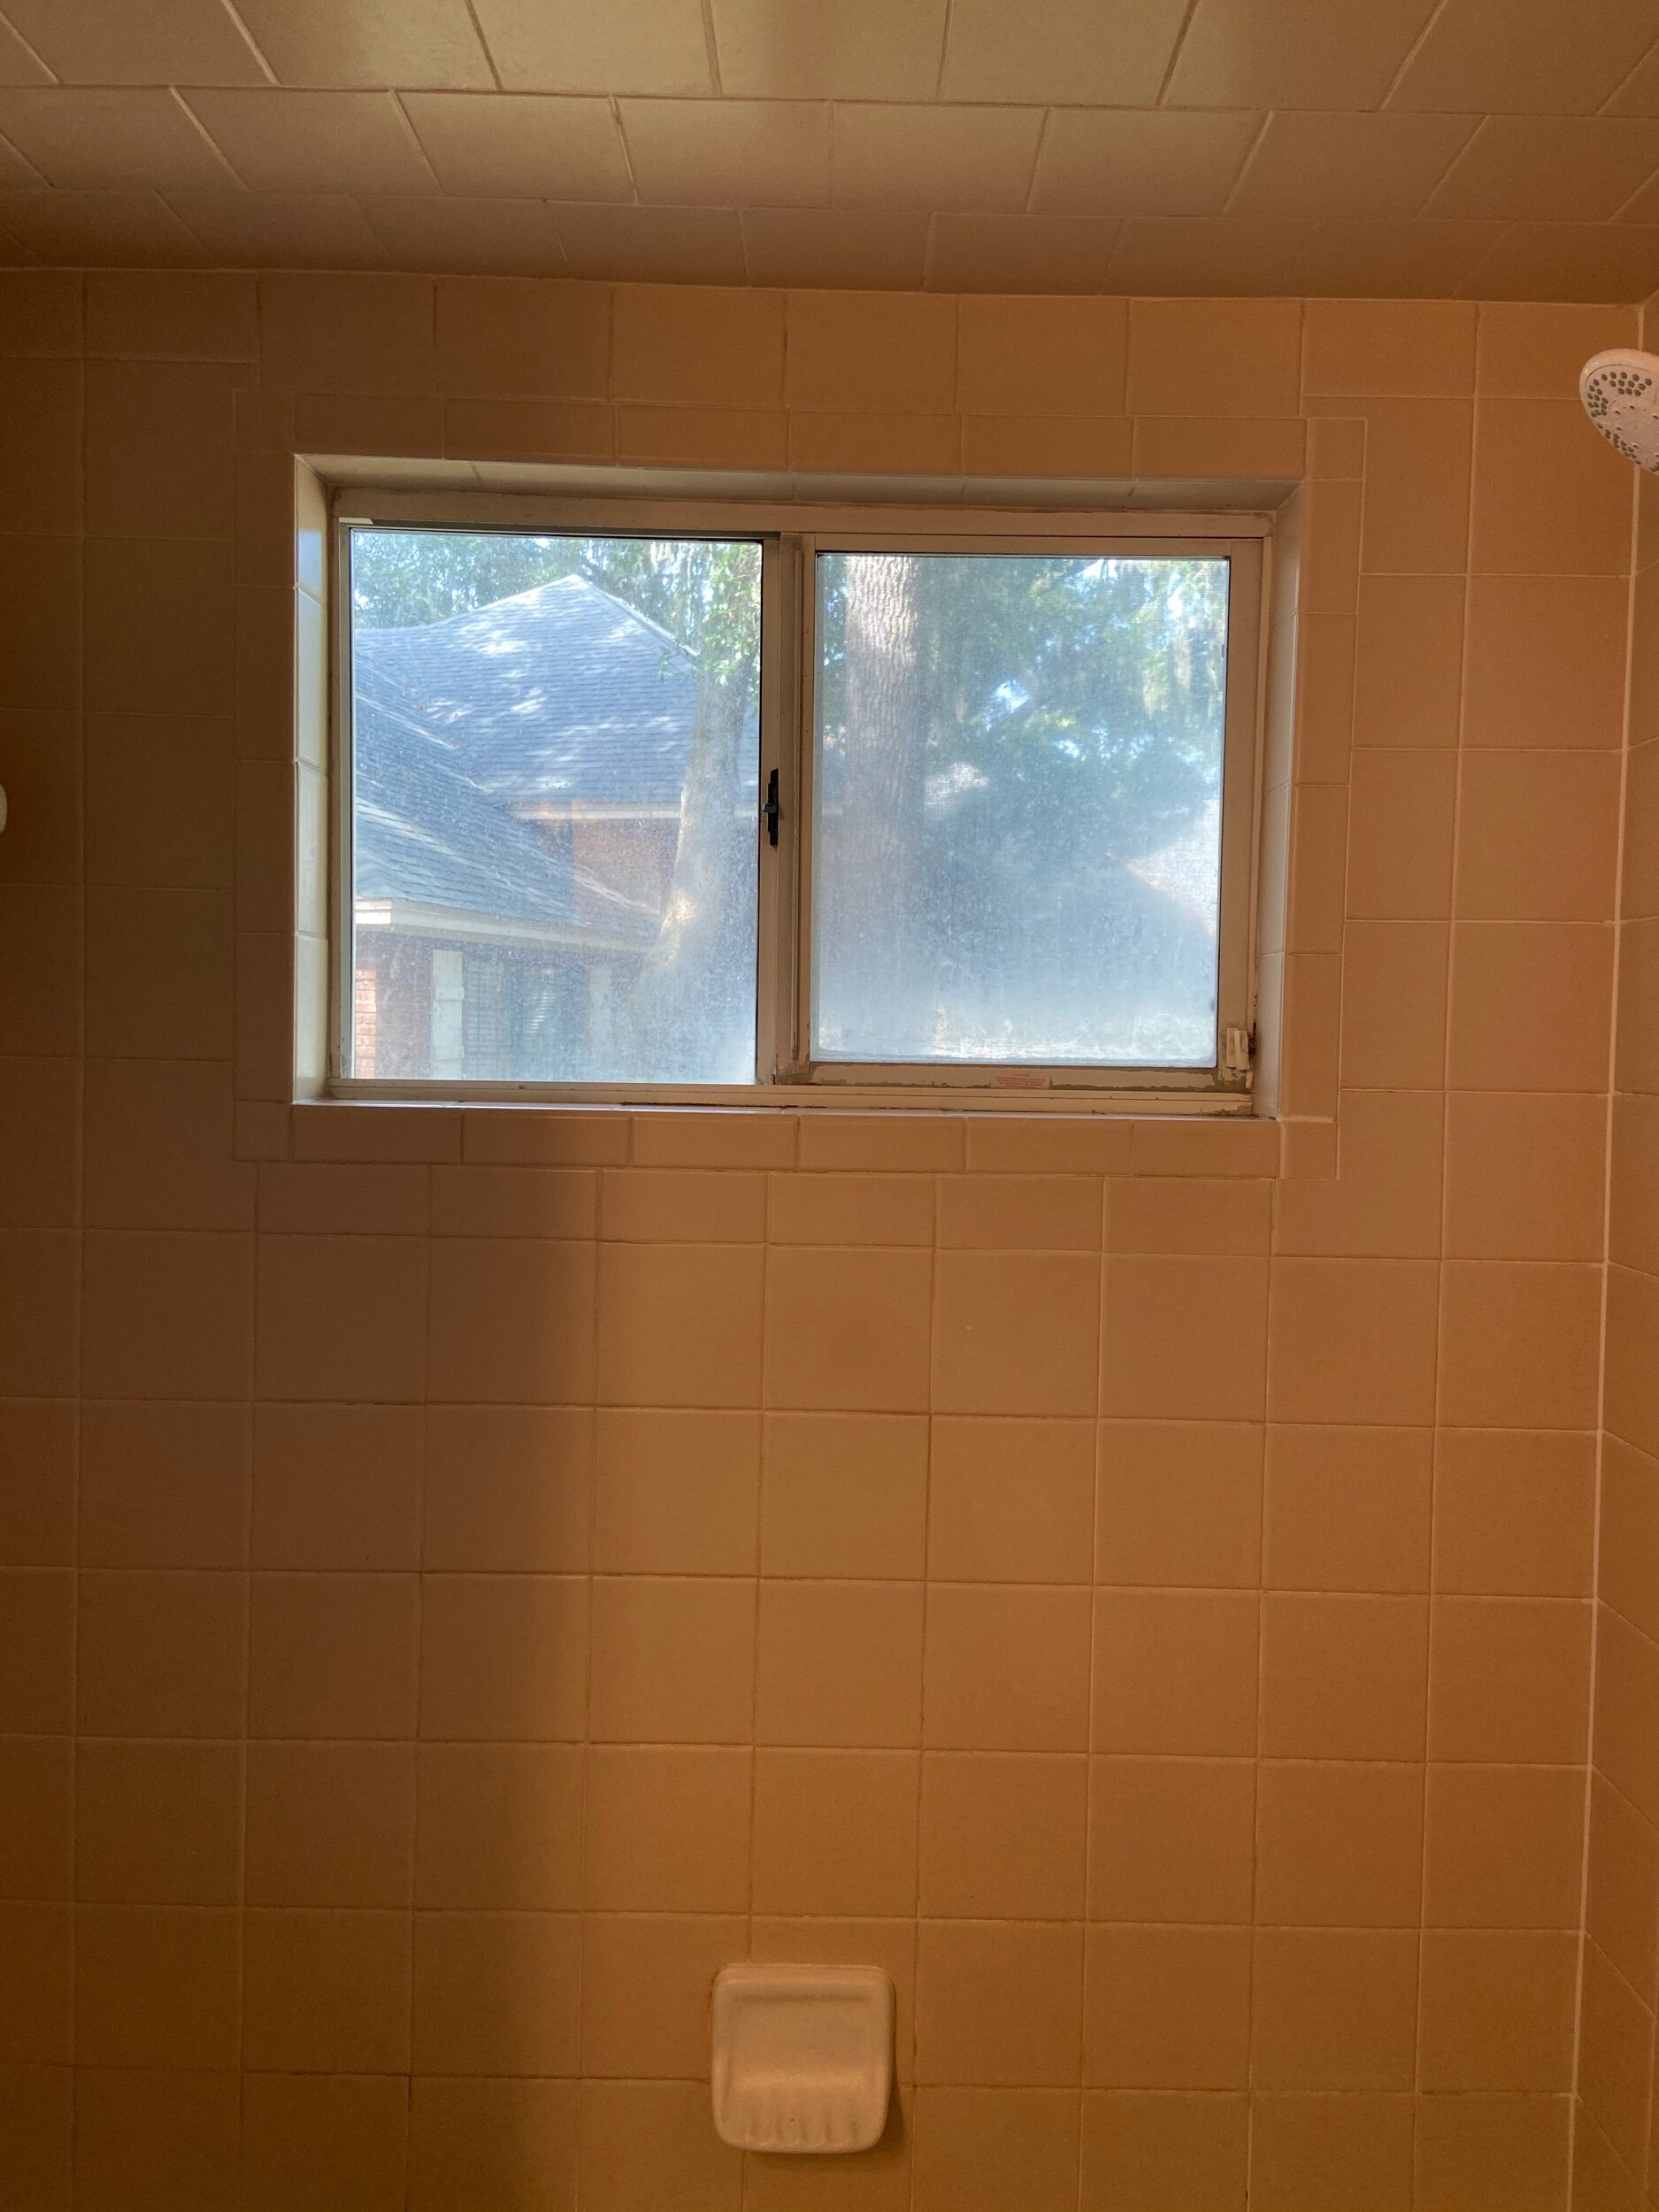
We Painted Our Shower Tile!
WOW. Just WOW. I am still in disbelief at the huge transformation this paint made in our little guest bathroom. I knew it would be a big change, but I had no idea the extent of how beautiful it would turn out. From the start, we knew we eventually wanted to paint the ugly peach colored tile, but it was a little project that kept getting but on the back burner behind bigger projects around here. The shiplap walls, new vanity, and the painted tile made this bathroom truly feel brand new. Ok- so let’s get to the scoop on how we painted the tile.
This is the product we used and we had to buy two quartz for our shower: White Paint
Disclaimer: the smell is VERY strong. You will definitely want to have windows open and wear a mask to complete this project. This had to be done in steps because the smell was so strong. I definitely recommend taking little breaks in between to catch your breath!
Step 1: Clean out the shower and tape off the tub and surrounding areas. You will want to take every item out of the shower so that it isn’t in your way. Then you will want to tape off any surrounding areas that could catch paint, as well as your tub so that you don’t get paint marks on it.
Step 2: Thoroughly clean shower tile with acetone. We scrubbed the tile down really well with acetone and let it dry completely.
Step 3: After the tile is completely dry from cleaning- Start painting! This will take you a few hours or more. It took 5 coats of paint to really cover every inch of the tile. Since we started with a darker tile color, I think it made it harder to cover completely. If you are starting with a lighter color tile, you may not need as many coats.
Step 4: Let it dry fully. I would allow 24 hours dry time no matter what the can says. Just to be sure!
It turned out beautiful and looks brand new! It is a matte finish- not glossy- so if you like a glossy look, you could always look into putting a gloss over it.
Let me know if you have any questions! Tag me on Instagram IG: Living Simply by Design so that I can see your before & afters and I’ll share it on my stories!


